
September 14, 2026

Yasin Bayram
Construction Expert with 30 years of experience
Planning an SPC Flooring Installation: The Kermit Checklist
Prepare for an SPC installation with checks for subfloor condition, existing tiles, underlay, 10 mm movement gaps, locking joints and the final handover.
A successful SPC flooring installation starts before the first plank is joined. Confirm the product, accept the subfloor and agree a movement-joint plan before fitting begins. Those decisions are harder to correct once the floor is covered with furniture and perimeter trims.
This checklist helps installers, project managers and homeowners plan the work around Kermit's English installation and care manual. Keep the instructions for the selected locking system beside the manual. A general click-floor diagram is not permission to use the same joining method on every product.
Confirm the room and the delivered product
Kermit SPC flooring is intended for suitable indoor, temperature-controlled applications. The manual advises against bathroom floors, outdoor areas, pools, saunas, continuously wet areas and places cleaned by hosing. Ordinary indoor kitchens and living spaces still need a suitable product and properly prepared base.
On delivery, compare the cartons with the order. Record the collection, decor code, quantity and batch information. Inspect the planks in daylight before fitting and continue checking during installation. Do not install a plank with a visible defect; keep it aside and contact the supplier before continuing.
Use one production batch where possible and mix planks between packs to distribute the decorative variation. If material arrived from cold storage or the site conditions differ from storage conditions, follow the manual's acclimatisation instructions before opening the installation sequence. A delivery date alone does not establish readiness to fit.
Accept the subfloor with measurements
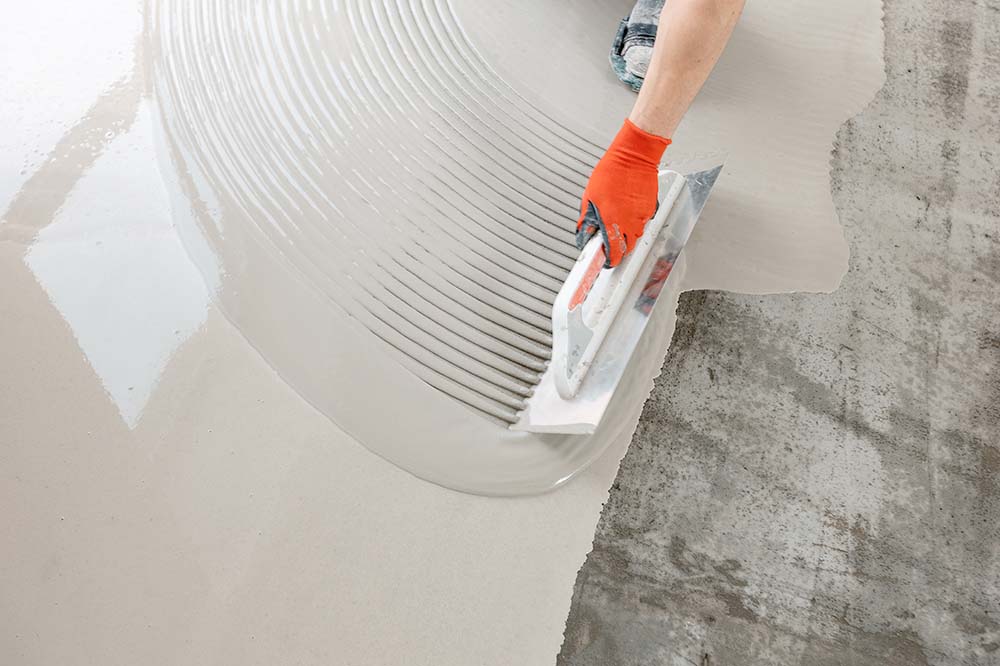
Identify the base first: cement screed, calcium-sulphate screed, timber-based boards and existing tiles need different assessment and preparation. The surface must be firm, clean, dry and sufficiently flat. Loose preparation layers, adhesive residue and unstable areas need attention before flooring is laid.
Kermit's manual specifies no more than 2 mm unevenness over 1 m, checked with a straightedge. Measure across the room, including doorways and changes in the base. Flatness is a local surface condition; the presence of a level-looking room does not prove that every plank will be supported.
Ask the installer to record the moisture test method, readings and the applicable acceptance limit for the actual screed. There is no useful universal moisture percentage without identifying the material and method. Moisture protection, where required, should be agreed as part of the base preparation. A water-resistant plank does not resolve dampness beneath the floor.
Can the existing tiles stay?
The manual includes ceramic tiles among possible bases, subject to assessment. Check their bond, stability, level changes and grout recesses. Repair or prepare the surface where necessary and include the resulting height in the doorway and transition plan.
Do not describe installation over tiles as automatically requiring no preparation. Loose tiles, local hollows or an unresolved moisture problem remain problems after they are hidden. Have the installer decide whether the existing finish is a suitable base before promising a demolition-free renovation.
Confirm backing and the floor build-up
Determine whether the selected product has attached IXPE or requires a separate approved underlay. Some Kermit collection options have integrated backing; the published 6 mm technical sheet describes a configuration without it. The thickness and wear-layer guide explains how to record those differences.
Underlay must suit the flooring, intended use and any heating system. It does not replace subfloor preparation, and an extra layer should not be added to an already backed product without confirmation. Agree the entire build-up before ordering door profiles or trimming doors.
Draw the movement gaps and transitions
Kermit's floating-floor guidance requires at least 10 mm clearance at walls, pipes and fixed objects. Keep that space available for movement after trims are installed. Do not reduce it because an existing skirting board is too narrow to cover it.
Mark doorways, connected rooms, long runs, heating zones and fixed cabinetry on the layout. Larger or connected areas may need additional movement joints; check the layout against the manual and the selected product before fitting. A perimeter gap is not a substitute for the required intermediate-joint plan.
Skirting and profiles should cover the clearances without fastening through or pinning the floating floor. Coordinate the sequence for fixed furniture so the floor is not trapped by cabinetry. The principle is consistent with the MMFA installation bulletin: follow the product-specific installation conditions and allow floating floor movement.
Plan the first rows and use the correct lock
Measure the room and balance the first and last rows before cutting. Check the intended laying direction against the room geometry, visible light and adjoining spaces. Keep movement clearances in the cutting dimensions.
The Kermit manual gives layout and staggering guidance for the illustrated plank installation. Confirm its applicability to the selected format and lock, especially if a different pattern is proposed. The installer should have the correct tools and joining instructions ready at the start.
Keep the first rows straight, inspect each joint and stop if edges resist joining normally. Use tapping only where the particular lock permits it, with the specified protective tool and controlled force. Forcing a joint closed can hide damage that becomes visible later.
Separate heating commissioning from floor fitting
For a compatible heated-floor assembly, complete the screed drying and heating-system commissioning before installation. Follow the instructions for switching the system off and bringing the floor to the required fitting conditions.
The finished floor surface must stay at or below 27°C. Restart gradually under the applicable heating instructions; the maximum surface temperature is not the heating-water setting. Give the heating and sunlight checklist to the person responsible for the controls and the occupant who will use them.
Keep a short handover record
| Record | What should be available at handover |
|---|---|
| Product | Collection, decor, batch details and a labelled spare plank where available |
| Subfloor | Preparation completed, flatness check, moisture method and accepted readings |
| Layout | Movement gaps, transitions and fixed-furniture details |
| Installation | Correct lock instructions used; joints checked before covering the floor |
| Heating | System details, commissioning record and agreed surface-temperature controls |
| Care | Applicable manual, cleaning guidance and contact details for questions |
Check the exposed floor and perimeter before bringing furniture in. Use a damp mop and suitable mild cleaner; do not hose the floor or leave standing water. Protect the surface while moving furniture. Obtain the applicable warranty terms separately and keep them with the product and installation records.
Installation planning questions
Can SPC flooring hide an uneven subfloor?
It should not be specified for that purpose. Kermit's manual requires the base to be prepared and limits unevenness to 2 mm over 1 m. Measure the surface and correct unsuitable areas before fitting; underlay is not a substitute for this work.
Where is the 10 mm clearance needed?
Leave at least 10 mm around walls, pipes and fixed objects. Keep the floor free to move after skirting and profiles are fitted, and check whether the room layout requires additional movement joints.
Should every click joint be tapped into place?
No. The joining method depends on the selected locking system. Tap only where that system permits it and use the appropriate protective tool. Stop and check the joint if it will not close with the prescribed method.